.png?width=256&height=60&name=Logo%20(1).png)
This guide shows you how to efficiently schedule, manage, and track all your classroom training sessions in the Pixaera dashboard.
1. Accessing the Classroom Tab
- From the left-hand navigation menu, select Classroom.
- You’ll land on the Classroom Management page — your central hub for scheduling and managing classroom delivery.

2. Create a new session
- Click Add Session button
- Fill in the session details:
- Select the training module
- Pick date and time
- Select a delivery method
- Choose the Site (select from your configured sites)
💡 If you don't see the site location that you need, you can create it. Follow the steps in this article for guidance.
- Assign a room where training will take place
- Appoint an instructor who will lead the session
💡 You can only assign users with a “Classroom Host” permissions as instructors. If you don’t see the user in the list, please reach out to your admin or help@pixaera.com for support. For more details on the user roles and permissions, please refer to this article.
- Click Create session to save the session.
Session delivery methods
Delivery method defines how outcomes are recorded and how they appear in reporting. There are two options for how you can run and measure the session.
-
Attendance-based (Completion only)
Participant’s presence is recorded as “Attended” and result as “Successful”. No scores are recorded.
-
Survey-based (Completion + Performance)
Learners complete a post-session assessment. Each trainee’s answers are scored, and result is marked as Successful (>70%), Incomplete or Unsuccessful.
💡 You will see Live Participation as session method. This method is currently in development and will be released in the upcoming months.
3. Add participants
- After session creation, you’ll have the ability to add the participants.
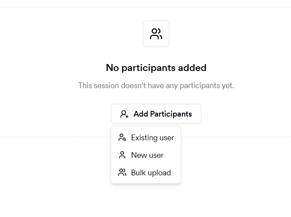
- Add participants to a classroom session by:
- Selecting from existing users
- Creating new users
- Bulk Uploading
Selecting from existing users
Search for users that already exist in Pixaera and add them to your session.

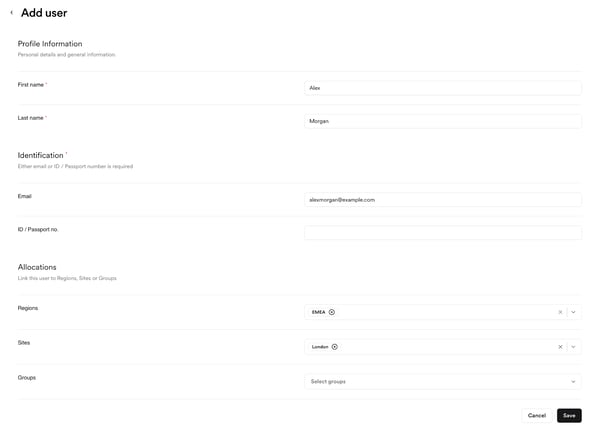
Creating users
When adding a new user, complete:
-
Personal details
-
Identification method (ID for external workers, email for internal users)
-
Optional allocations (site / region / group)
Bulk upload
- You can bulk add users by clicking “Bulk upload.”
- Download the provided CSV template and fill in the required participant details (email, ID/passport, etc.).
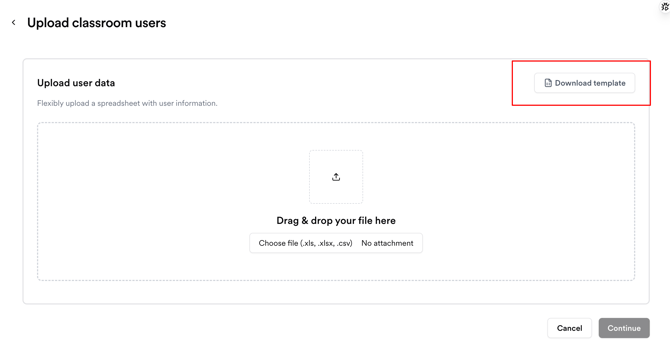

- Upload the completed file, and the system will automatically populate the participant list.
- Сonfigure the columns by matching them to the ones in your document to make sure user data is displayed correctly.
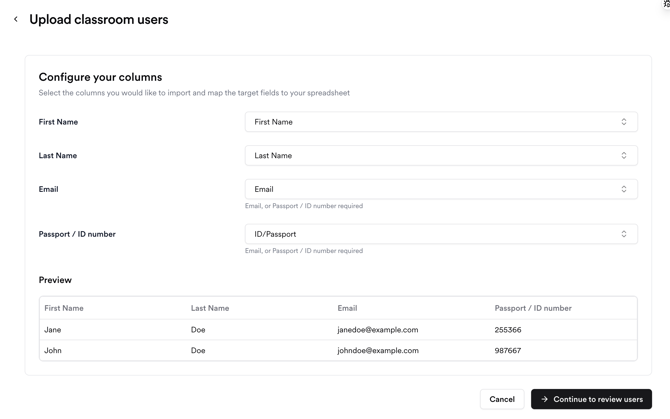
- Once reviewed, click “Continue to review users” and review the upload.
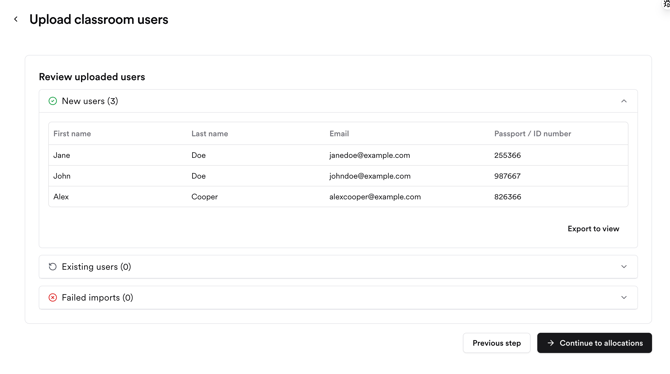
- Click “Continue to allocations” to place users to a correct site/group/region (optional).
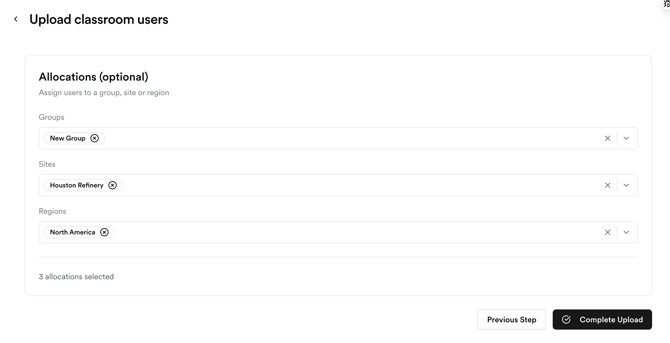
- Click ‘Complete upload’ to finish uploading participants.
4. Managing sessions
a. Filtering your sessions
You can filter sessions by trainer name and location. Your choice will be saved and pre-applied every time you use Pixaera for classroom sessions.
b. Change session type during the session
You can switch session type before it’s marked complete. This removes the need to cancel and re-create sessions if the format changes mid-delivery.
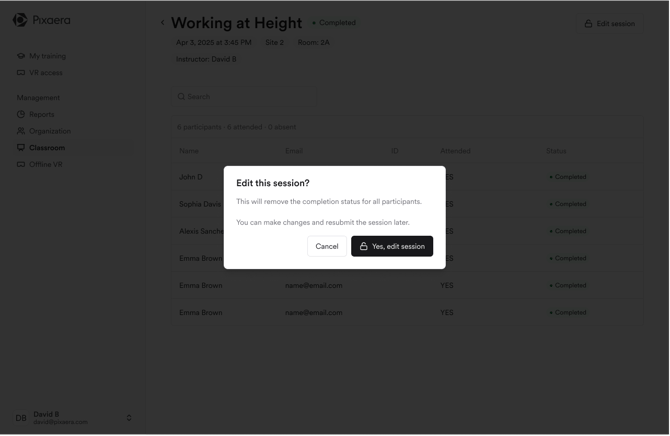
c. Edit sessions after completion
Completed sessions can be reopened to adjust users, scores, or results.
d. Edit user details or remove participants
User details can be edited or removed directly within the session dashboard.
 or
or
e. Manually override scores
You can edit or reset scores and mark participants as successful.
f. Reschedule participants to a new session
You can reschedule individual attendees or several using bulk actions.

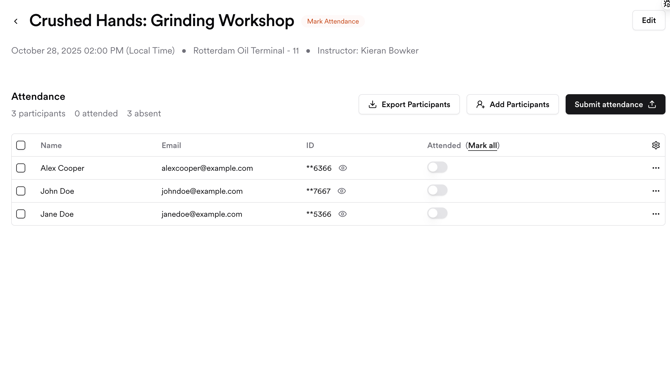
g. Hide / Show scores during screenshare
Trainers control whether results are visible when sharing their screen — protect participant confidence or open up group reflection, depending on context.
Scores are hidden by default to prevent sharing scores with the classroom; trainers can reveal the scores once they’re done sharing the screen.
From the calendar view, you can duplicate and delete each session by clicking on the three dots on the left.

Best practices
- Always accurately define the details of your classroom session, with the module, site location and your participants.
- Use the Calendar view to prevent scheduling conflicts.
- Add buffer time between sessions for check-in/setup.
- Mark attendance within 24 hours of session end for accurate trends.
What to do next
Once your sessions are set up, explore these next steps to maximize training impact: